How to Build a PC: The Complete Beginner’s Handbook
Assembling hardware parts is only one aspect of building your own PC; you also need to understand how to customize it to meet your unique demands. This in-depth tutorial will take you step-by-step through the process, regardless of your level of experience with computers—you might be a professional content maker, a gamer, or someone who just wants to learn more about them.

Understanding the Basics: Components of a PC
1. Motherboard: The Backbone of Your System
The motherboard is the central component of every PC design. Consider it the nervous system that serves as the link between all of your parts. What kind of processor you can use, how much RAM you can install, and your possibilities for extension are all determined by the motherboard you choose.
2. Processor (CPU): The Brain of Your PC
Arguably, the most crucial part of your PC setup is the processor. It manages all of the computations and duties that your computer must complete. Think about things like clock speed, number of cores, and motherboard compatibility when selecting a CPU.
3. Memory (RAM): Your PC’s Short-Term Memory
Random Access Memory, or RAM, enables fast data access on your computer. Your computer can perform more tasks at once without stuttering if it has enough RAM. When choosing RAM for your project, take into account the speed (measured in MHz) and capacity (measured in GB).
4. Storage: Where Your Data Lives
Hard disk drives (HDDs) and solid state drives (SSDs) are the two primary categories of storage devices. SSDs are more dependable and speedier, although they usually cost more per gigabyte. HDDs are less expensive and have higher storage capabilities. In order to maximize speed and storage capacity, think about combining both.
5. Graphics Card (GPU): Bringing Your PC to Life
Gaming and other jobs requiring a lot of graphics require a graphics card. It is essential to the seamless operation of games and applications since it renders images and movies on your monitor. Whether you’re using it for regular use, creating content, or gaming, pick a GPU according to your demands.
6. Power Supply Unit (PSU): Providing Stable Power
Your electrical outlet’s electricity is transformed by the PSU into a form that your computer can use. Select a power supply unit (PSU) that can handle all of your components and still have capacity for expansion. To save money on energy, look for efficiency ratings (80 Plus Bronze, Silver, Gold, etc.).
7. PC Case: Housing Your Components
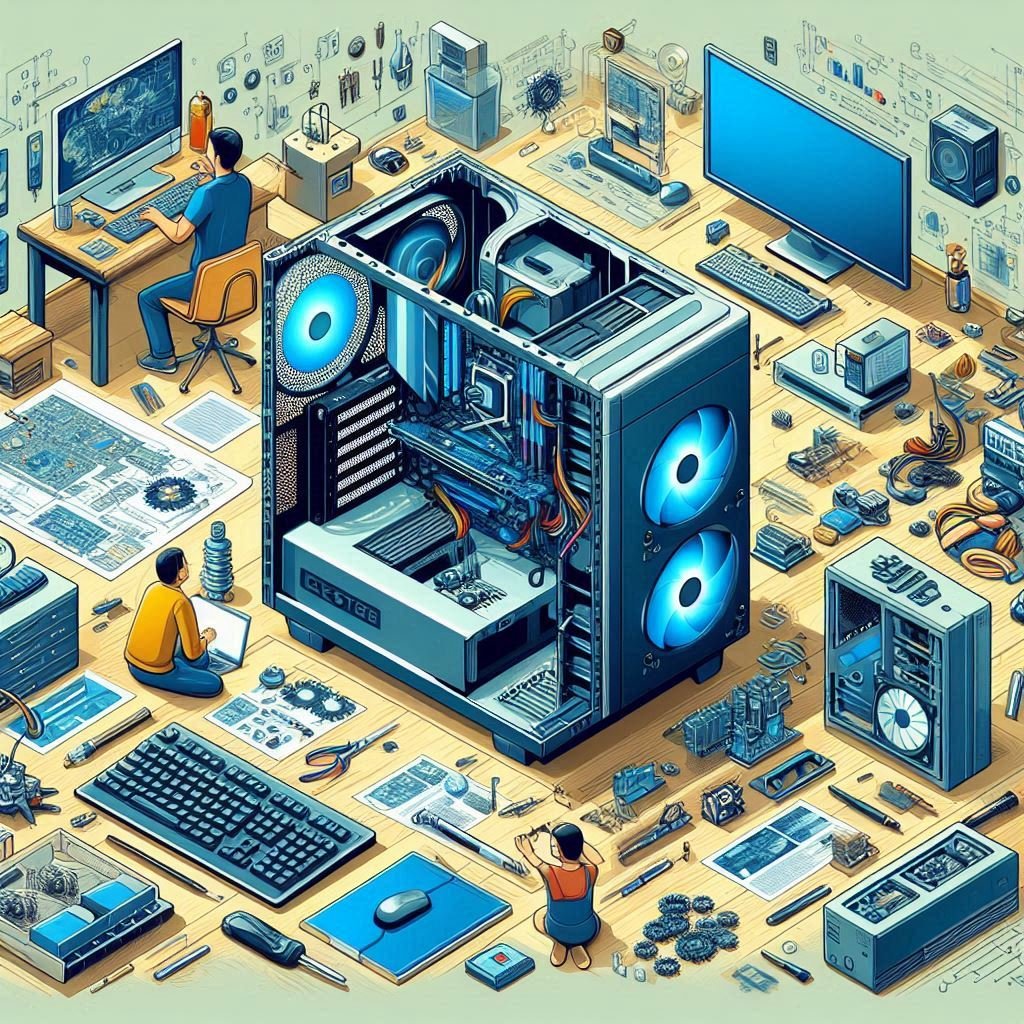
The PC case determines the build’s appearance and ventilation in addition to housing all of your components. Select a case that will accommodate the size of your motherboard and provide adequate space for all of your components. Think about things like future expandability, cooling choices, and cable management.
8. Cooling System: Keeping Your PC Cool
Maintaining the cooling of your components is crucial for their long-term dependability and efficiency. The two primary kinds of cooling systems are liquid and air coolers. Liquid coolers provide better cooling performance and might be quieter than air coolers, which are straightforward and efficient.
Step-by-Step Guide: Building Your PC
1. Prepare Your Workspace
Make sure your workspace is tidy, well-lit, and spacious before you begin building. assemble all of your parts and equipment, such as a screwdriver, thermal paste (if not applied beforehand), and an anti-static wrist strap (optional but recommended).
2. Install the CPU onto the Motherboard
Installing the CPU on the motherboard should come first. Lift the CPU socket’s retention arm, align the CPU with the socket (paying attention to the socket keying and CPU orientation marking), and then carefully lower the CPU into position. Lower the retaining arm back down to secure the CPU.
3. Install the CPU Cooler (if not pre-installed)
In the event that your CPU cooler is not already installed, attach it to the CPU socket according to the manufacturer’s recommendations. Before putting the cooler in place, lightly coat the CPU’s center with thermal paste, if it hasn’t already been applied. Make that the cooler is plugged into the motherboard’s CPU fan header and is properly fastened.
4. Install RAM onto the Motherboard
Find the RAM slots on your motherboard; they are often located close to the CPU socket. Applying pressure to the retention clips will release the slots. Press down gently until the retention clips lock into place after aligning the notch on the RAM stick with the notch in the RAM slot. If installing more than one RAM stick, repeat the process with the others.
5. Install the Motherboard into the PC Case
Align the motherboard with the standoffs that are pre-installed (little metal pegs that raise the motherboard off the case surface) and carefully slide the motherboard into the PC case. Screws are used to attach the motherboard to the case; make sure the screws are tight but not too tight.
6. Install Storage Devices (SSD/HDD) into the PC Case
Place your SSD and/or HDD into the mounting brackets or drive bays that are assigned for them in the PC case. Use the screws or tool-free installation systems that the case maker supplies to hold them firmly in place. Each storage device should have its SATA power and data wires connected from the PSU.
7. Install the Graphics Card (GPU)
If required, remove the PCIe slot covers from the case and locate the PCIe x16 slot on the motherboard, which is usually the top slot. Make sure the GPU bracket is in line with the case slot by carefully inserting the GPU into the PCIe slot until it clicks into place. If necessary, fasten the GPU to the casing with screws to keep it from sagging.
8. Connect Power Supply Cables
The motherboard, CPU, GPU, and storage devices require the 24 pin ATX, CPU power, PCIe power, and SATA power cables, so route them from the PSU to the appropriate sockets. If the case has cable management capabilities, make sure the cables are arranged neatly and securely.
9. Connect Case Cables and Front Panel
Attach the case cables to the appropriate headers on the motherboard, making sure they connect to the power, reset, USB, audio, and other buttons. For the locations of these headers and cable connections, consult the manual that came with your motherboard. Make sure every connection is safe to prevent power and functionality problems.
10. Power On and Test Your PC Build
Check all connections and parts one more time before turning on your computer for the first time. Turn on the power supply by inserting the power wire into the PSU. To turn on your computer, press the power button on the case. Your monitor should display the BIOS/UEFI screen if everything is connected properly.
Troubleshooting Tips and Final Thoughts
Although building your own PC can be a wonderful experience, difficulties are common during the process. Here are some pointers for troubleshooting:
- Check all connections: Make sure that every component and cable is fastened firmly.
- Verify component compatibility: Verify again that every part is compatible with your motherboard and with each other.
- Consult manuals and guides: Check online tutorials and component manuals for detailed troubleshooting instructions.
- Seek help if needed: If you have any questions regarding any process, don’t be afraid to seek skilled builders, groups, or forums for assistance.
In summary, creating a PC involves more than just putting the hardware together; it also entails comprehending how each part interacts with the others to produce a strong, customized system. You may construct a PC that fulfills your requirements and surpasses your expectations with a little bit of time, meticulous planning, and attention to detail.


